New
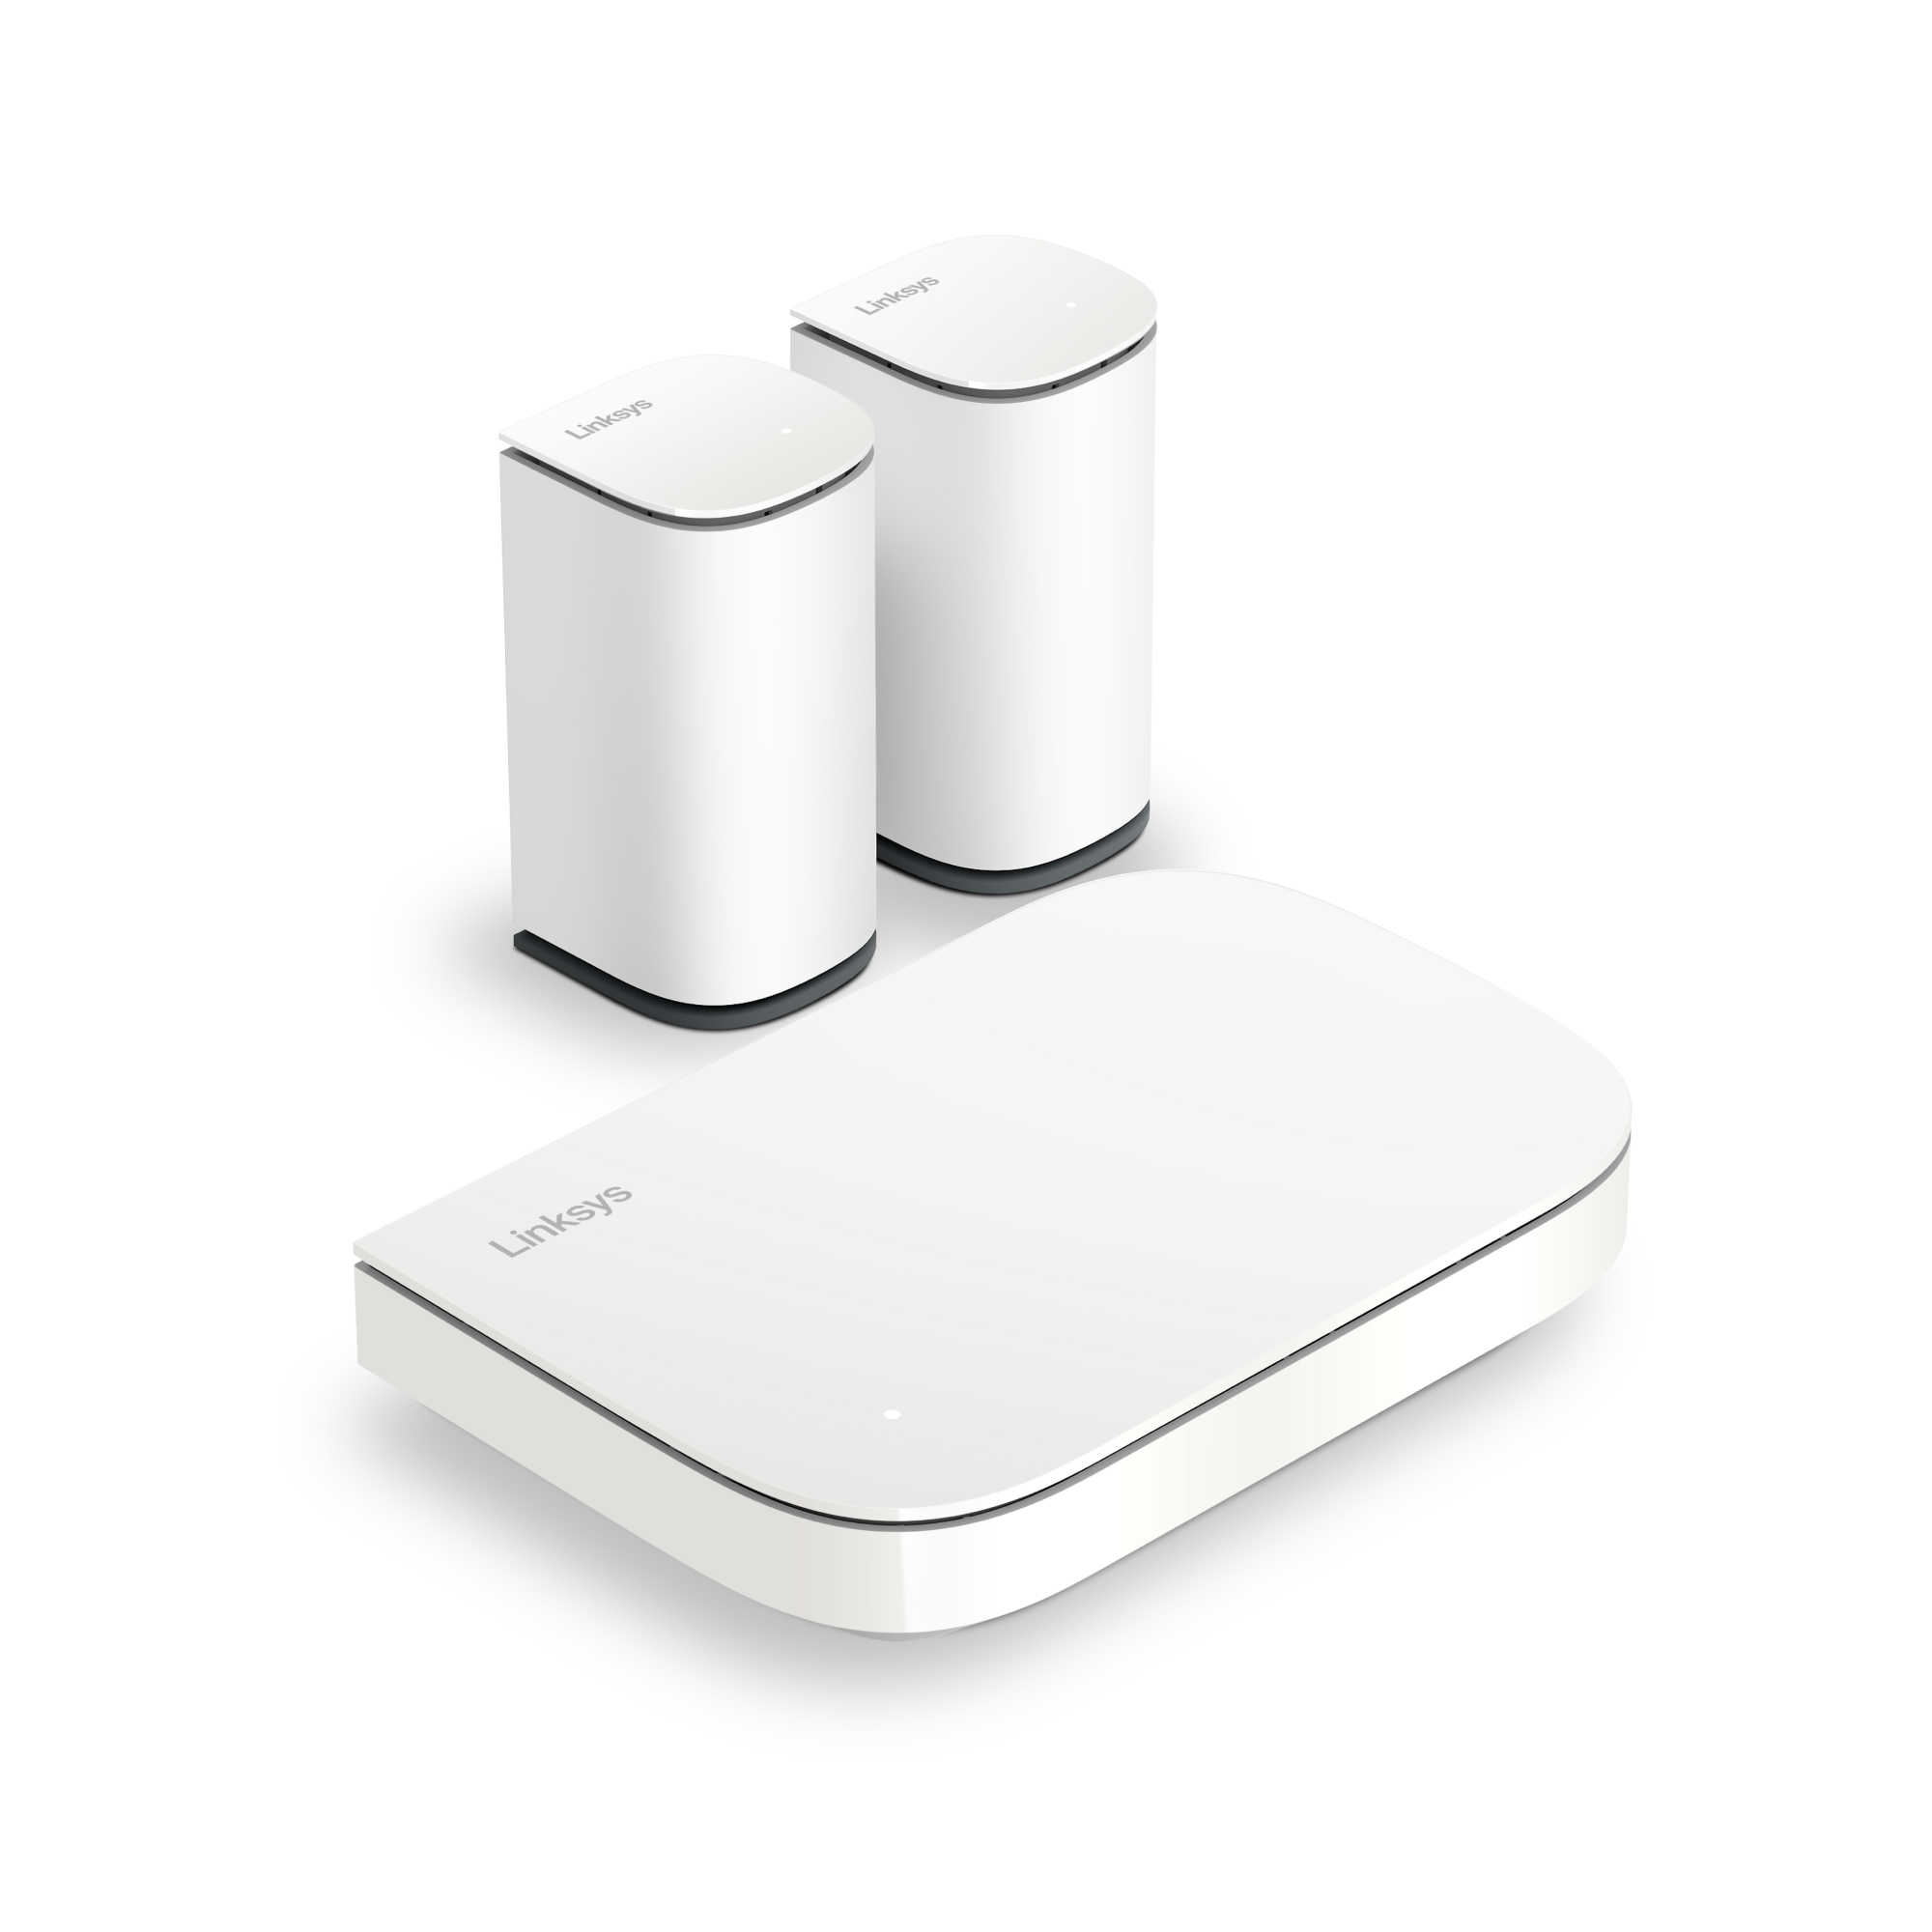
Velop Micro Mesh
Faster connection to everything you do.
Where do I place nodes when adding to existing mesh WiFi?
Why does my child node keep losing connection to my mesh WiFi?
Why did my device lose connection to my Linksys mesh WiFi system?
Where do I place my nodes when adding to an existing mesh WiFi?
Strong signals between nodes are critical for high speeds and wide coverage in a mesh WiFi system. Placement of your child nodes, therefore, will be important. Generally, it’s best to keep nodes within two rooms or one floor of each other and limit walls and obstacles between nodes. Make sure the node is out in the open. Avoid placing it in a cabinet or behind a TV. Try to keep it away from large panes of glass and large metal objects like refrigerators, fish tanks, or microwaves. The good news is the Linksys app guides you through the process so you can be confident your nodes are placed in good spots.
Scenario:
I want to add nodes to my existing mesh WiFi system to expand coverage throughout my home.
Solution:
Before you begin, ensure that any child node you want to add to a mesh system for the first time is in its factory defaults. If you have used the node with another mesh system or someone gave you a used node, factory reset it.
Make sure your child node is within range of another working node (a parent node or child node with a solid blue light). We’ll help you determine “in range” during the process, but remember to be within two rooms or one floor of a working node and limit walls and obstacles between them.
1. Connect a phone or tablet to your home WiFi and log in to the Linksys app with your email address or router password.
2. Tap the menu icon and then select Set Up a New Product.
3. Tap on Add Another Node to xxxx (where the xxxx is your existing WiFi name).
4. Tap on To extend my Wi-Fi with a new child node.
5. Turn ON Bluetooth® if prompted. Otherwise, tap I would rather set up without Bluetooth.
6. Plug the additional node into a power source within range of another node, then tap Next.
7. Make sure all your nodes have a solid light, then tap on Node light is solid.
8. Node detection will begin. This could take up to 3 minutes. Once the child node has been added, tap on Next > Finish.
View the full steps for adding a node.
Scenario:
I’m having trouble with established child nodes disconnecting from my WiFi.
Solution:
If established child nodes in your mesh WiFi become disconnected, consider what changes have occurred in your home or within your mesh WiFi. Did you relocate your modem, parent node, or any child nodes? Did you get new furniture, change your home’s layout, or get a major electronic appliance? All of these can affect how your nodes communicate.
A good way to tell how well the nodes in your mesh WiFi are talking to each other is a measurement called Received Signal Strength Indicator (RSSI). RSSI is recorded in dBm or decibels per milliwatt. The RSSI scale begins at 0 dBm (excellent signal) and is expressed in negative numbers from there, with values below -70 dBm indicating a poor signal. Your parent node will not have an RSSI because it is wired to your modem.
To check a node’s RSSI, follow the steps below:
1. Log in to the Linksys app, tap the menu icon, and tap Network Administration.
2. Tap on a Nodes.
3. Tap on a wireless child node. You will see a Signal Strength value.

Move the node closer to another working node (with a blue light). Once the relocated node has a blue light (about 2 minutes if you unplugged it), check if the signal strength improves.
Things to consider:
Scenario:
My phone was working fine on my mesh WiFi network but suddenly stopped connecting to any node.
Solution:
There are many reasons a device might not be able to connect to your WiFi. Here are some common ways to try to fix the problem:
Before starting troubleshooting, determine whether the issue is limited to a specific device or affects the entire network. Check if the lights on all your nodes are solid blue for Linksys Intelligent Mesh™ (white if you have Linksys Cognitive™ Mesh), as this indicates that they are working properly. Ensure that the network and power cables for both your modem and nodes are securely connected, and verify that your modem is receiving an internet signal from your service provider. If the network appears to be in order, try restarting the device that is experiencing connection issues. Alternatively, you can delete or forget the affected device’s network name (SSID) and reconnect to it.
If it appears there is a network-wide problem, the quickest and easiest remedy could be restarting your modem and all nodes. Unplug the modem and all nodes in your system; then plug them back in. When the lights on your nodes are blue, try to connect again. If one or more nodes have a red light, move it closer to one that’s blue until it joins the mesh network.
It’s possible you are not within range of a working node in your mesh WiFi, or there is some obstacle between you and the closest node with a blue light. Environmental conditions – other electronics and wireless device usage by neighbors on the same WiFi channel – can also cause WiFi interference.
You can use the Channel Finder feature in the Linksys app to automatically find the best channel. You can also manually change your WiFi channel through the router's web interface.
• Verify the network selected: Ensure your device is connected to the correct WiFi network (SSID) and not a neighboring network.
• Forget and reconnect: Forget the network on your device, then reconnect by entering the password again.
Turn OFF your device completely, wait a few seconds, and then power it back ON. Restarting your device can clear temporary glitches or background processes affecting connectivity.
Make sure your device's operating system or firmware is up to date. Updates can fix bugs or compatibility issues with your mesh WiFi system. Check for updates in the Linksys app (Network Administration) or at the router's web interface (Connectivity > Basic). A firmware update will also restart your mesh network, often fixing small connectivity issues.
Connect another device to the network to confirm the issue is specific to your device.
If you’re using a desktop or laptop, check the WiFi adapter:
• Disable/Enable WiFi: Temporarily disable, then re-enable the WiFi adapter.
• Driver updates: Update the WiFi adapter’s drivers to the latest version.
• Your mesh network might have recently updated to a new firmware that doesn’t work with your older devices. Make sure the device has the most current operating system (phones and tablets) and current drivers for wireless adapters (computers). It’s possible that an older device may no longer function properly. To check, log in to the Linksys app or the router’s web interface.
• Linksys app: Go to the menu > Network Administration. Tap on each node to check the firmware version. If you have the latest version, an Up to date label will display.
• Web interface: Go to Device List. Click on each node to view the firmware version. If you have the latest version, an Up to date label will display.
• Someone might have turned ON the MAC address filter on your network and denied the device access to WiFi. Talk to whoever controls the settings in your network to see whether that could be the problem. To know more about MAC address filtering, click on the links below:
Setting up the Wi-Fi MAC Filters feature using the Linksys app
Configuring wireless MAC Filter using your Linksys cloud account
For more information about common factors that affect your router's WiFi performance and to discover solutions, check our detailed guide.
Scenario:
While roaming around my house, my phone maintains a connection to a node even when I am closer to a different node.
Solution:
Linksys Intelligent Mesh system allows wireless devices to switch among mesh nodes as a user roams among them, but the devices decide when to make the change. A device’s roaming aggressiveness can result in a device remaining connected to a node even when there is one closer with a better signal.
Roaming aggressiveness is based on RSSI, which is measured in decibels per milliwatt, with 0 dBm being the strongest and weaker signals in negative numbers. For some devices, if RSSI falls below -70 dBm, it will look for another access point with a stronger signal. If the RSSI never falls below -70 dBm, those devices might very well stay connected to a node even though there could be a better option.
The way to counter a device that is hanging on to a connection with a low RSSI is to turn OFF the WiFi on your device and turn it back ON. The device will likely choose a node with a better (closer to 0 dBm) RSSI.
QUICK TIP: The Google Play™ Store and App Store® offer several apps that allow your device to read and analyze RSSI levels in your WiFi. Search for WiFi Analyzer in the App Store or Google Play Store.
Signal Strength
Where you place your router matters more than you think
Best practices checklist for your WiFi network
WiFi basics: What it is and how it works

